Part 1
Kombucha: What You Need to Know
Kombucha is a fermented tea that's been around for a long time. People didn't just start drinking it because it's trendy; they drink it because it's packed with stuff that's good for you, like probiotics. Probiotics are like your digestive system's best friends. They help keep your gut healthy and boost your immune system, making it easier to fight germs.
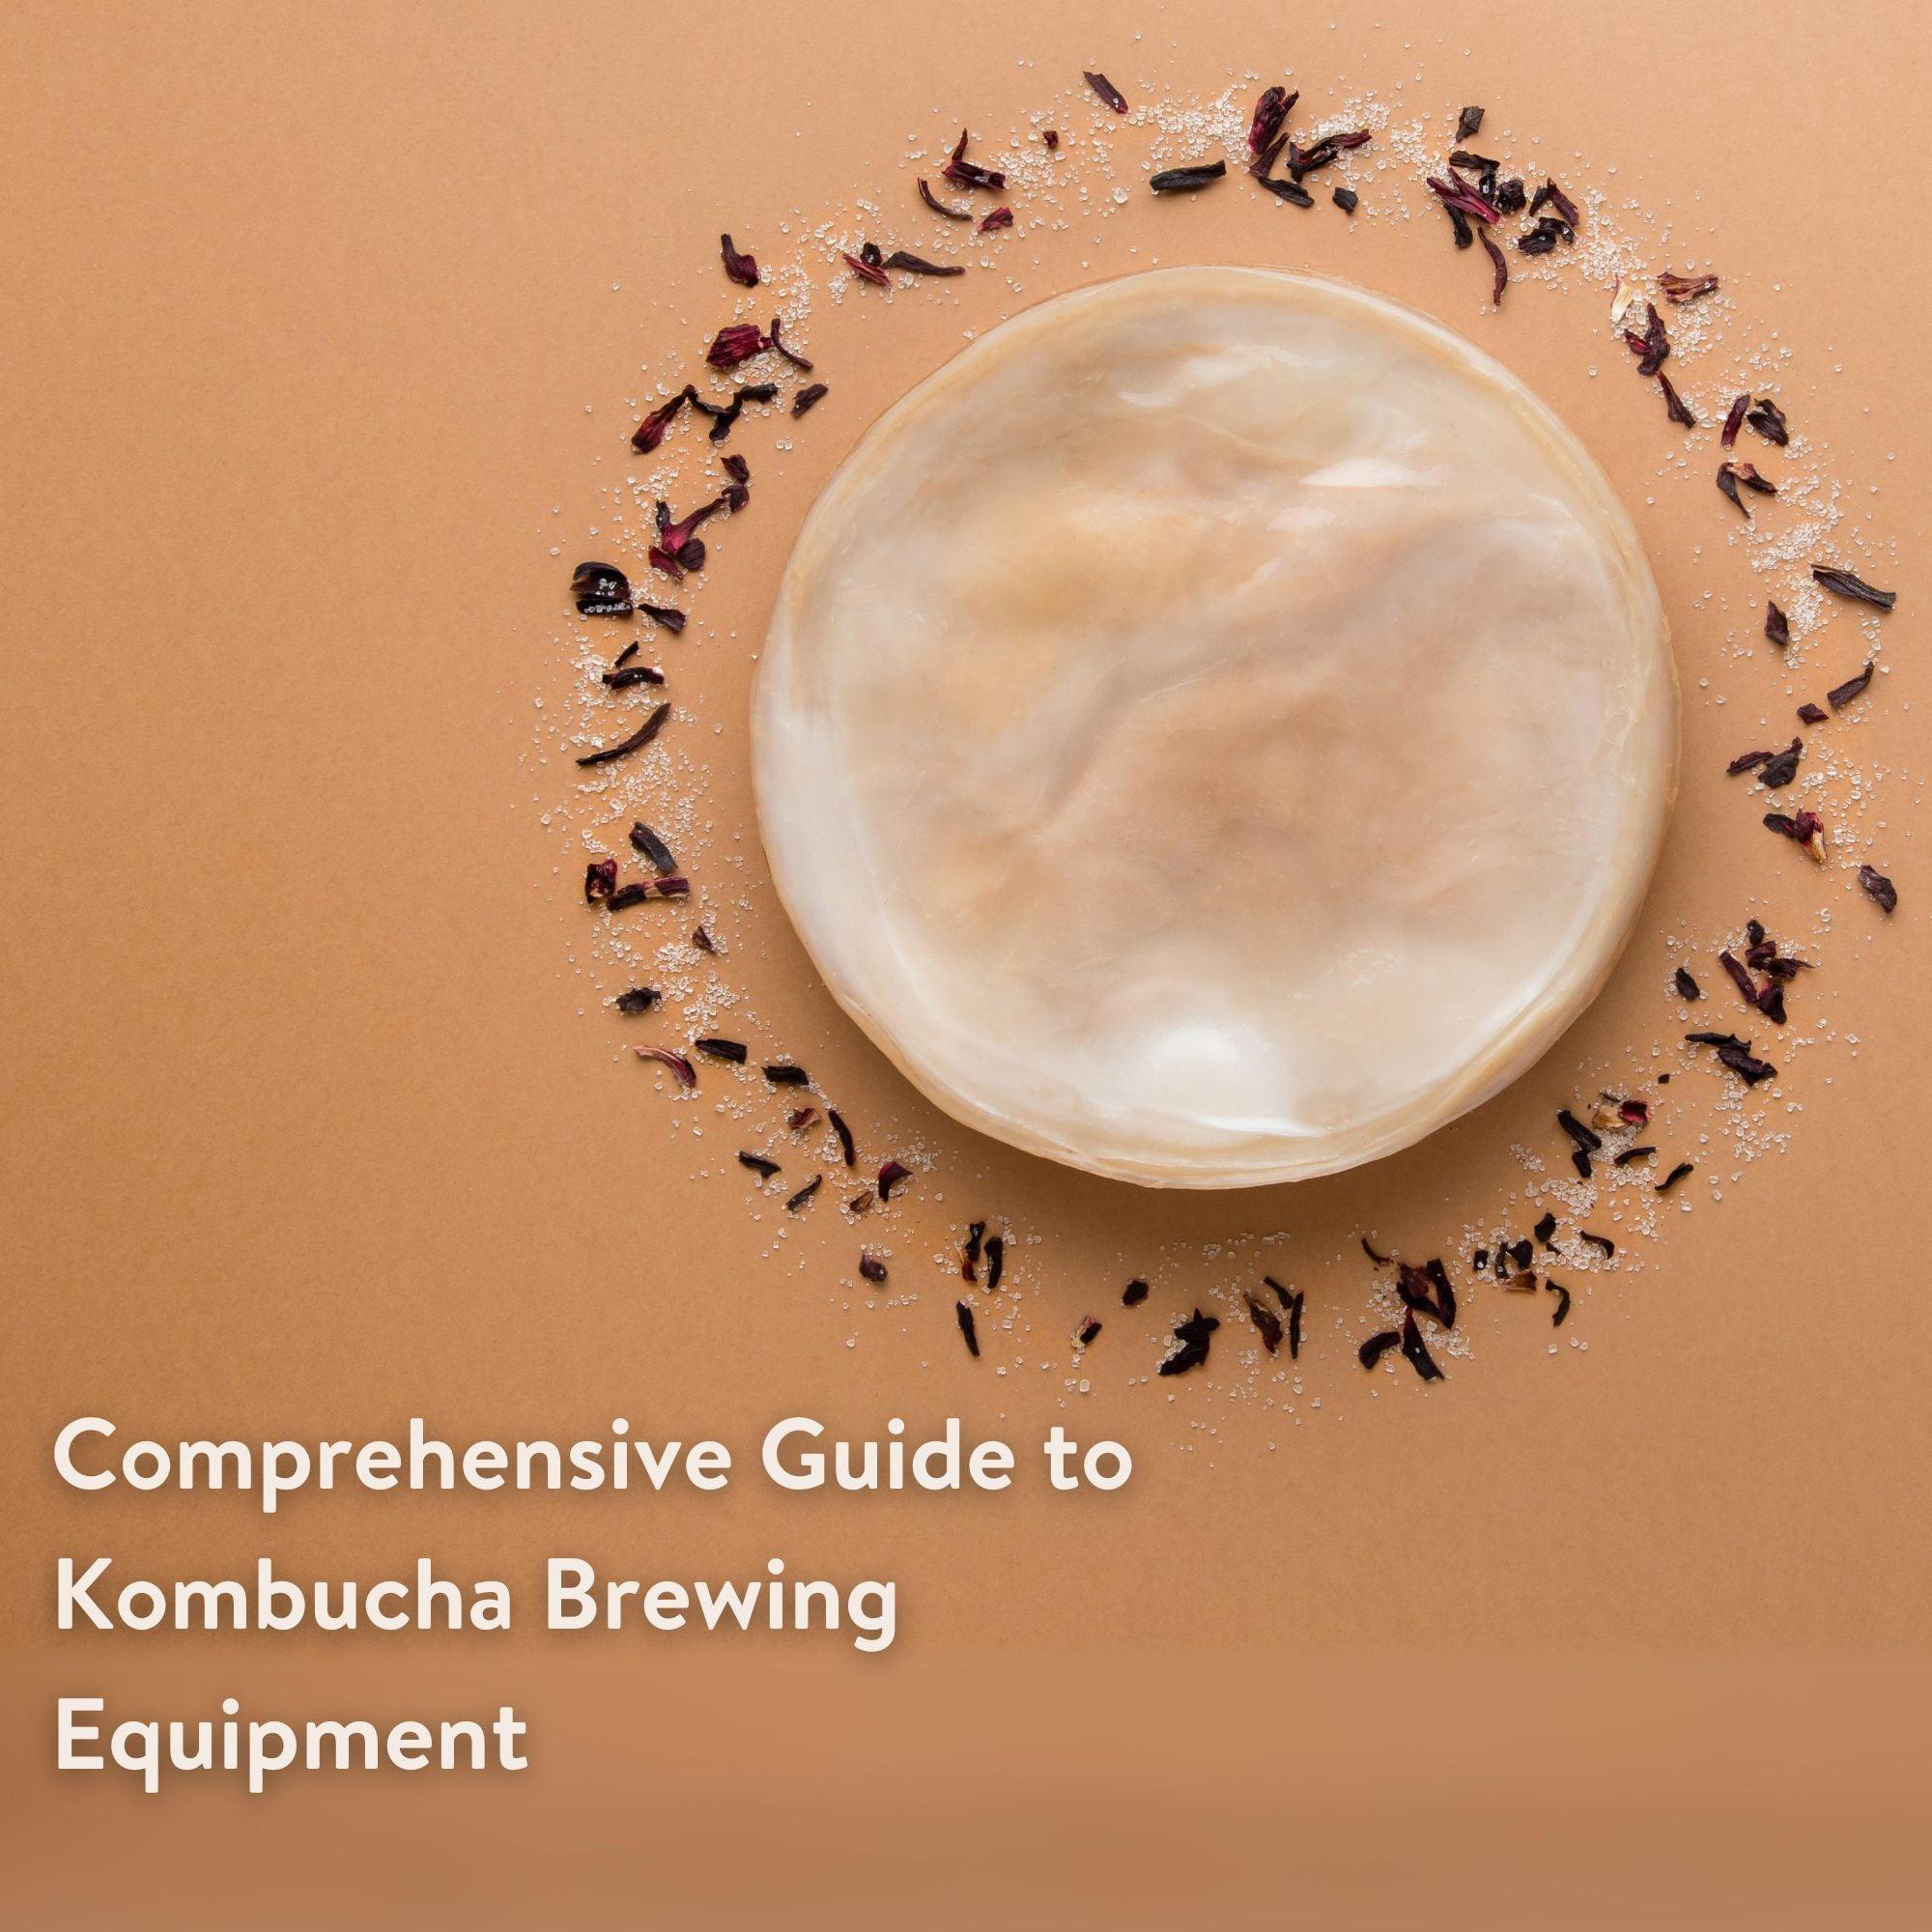
To make kombucha, you need something called a SCOBY, which stands for Symbiotic Culture Of Bacteria and Yeast. This might sound a bit scientific, but think of it as a living home for the good bacteria and yeast that turn your ordinary tea into kombucha.
When you brew kombucha, you start with tea and sugar. The SCOBY eats most of the sugar, turning the tea into a tangy, slightly fizzy drink. It's like making your own soda, but way healthier.
So, what's so great about making your own kombucha? For starters, you can control what goes into it, meaning there's no extra stuff you don't need. Plus, it's a fun way to try something new in the kitchen, and you might end up with a drink that's better for you than what you can buy at the store.
In the following parts of this guide, we'll talk about choosing the right kind of jar to brew in, what tools you'll need, and how to flavour your kombucha to make it taste just the way you like it.
By keeping things simple and explaining the process clearly, we aim to make home-brewed kombucha less intimidating and more accessible.
Part 2: Selecting the Right Vessel for Brewing Kombucha

Why the Right Jar Matters
Your choice of container is crucial for kombucha brewing. You want the right jar because it will be the home where your kombucha starts to come alive. Let's keep it simple and focus on what's best for your brew.
Glass Jars Are the Way to Go
Glass is the champion when it comes to brewing containers. Why? Because it's safe, clean, and doesn't mess with the taste of your kombucha. It's like the difference between drinking water from a glass versus a plastic cup—you can taste the quality.
A Clear View
A clear glass jar also lets you keep an eye on your brew. You can watch the fermentation happen and make sure everything's going smoothly. It's part of the fun and teaches you about the brewing process.

Size Does Matter
The size of your jar matters, too. You won't have much kombucha to enjoy if it's too small. If it's too big, it might be a hassle to handle. A 2–4-liter jar is a good starting point for most home brewers—it's easy to work with and gives you enough kombucha to enjoy.
Keep It Wide
The shape of your jar is important as well. A wide mouth makes it easy to get your SCOBY in and out and helps with cleaning. Plus, it gives your kombucha enough surface area to breathe and do its fermentation thing.
Watch Out for the Spigot
If you pick a jar with a spigot at the bottom for easy pouring, make sure the spigot is made of plastic, not metal. Metal can harm your SCOBY, and we don't want that.
Remember, the right tools make all the difference. A good jar sets the stage for a great batch of kombucha. Next, we'll talk about what else you need to get brewing.
Part 3: Essential Tools for Kombucha Brewing
The Must-Haves for Brewing
When you're ready to brew kombucha, you'll need a few essential tools. These aren't just random items; they're essentials that make the brewing process smooth and successful.
Strainers and Filters
A fine-mesh strainer is a must. After the first fermentation, you'll want to remove any bits of SCOBY or loose tea leaves. This keeps your kombucha clear and clean for drinking.
The Right Covers
You'll need something to cover your jar. This is not just to keep stuff out, but it lets your kombucha breathe. A tight-weave cloth or a paper coffee filter works great. Just secure it with a rubber band, and you're set.
Measuring and Testing Tools
Accurate measurements are essential. You'll need a measuring cup for the water and sugar and a tablespoon for the tea. Also, pH strips are handy to check if your kombucha is at the right acidity level. It should be between 2.5 and 4.5 for the perfect balance of tart and sweet.
Temperature Control
Keeping your kombucha at the right temperature helps the fermentation process. If your house is cool, you might want a heating strip or pad to wrap around the jar. This keeps your kombucha cozy and fermenting properly.
Remember, having the right tools makes the job easier and helps you brew kombucha that tastes just right. In the next part, we'll look into the first steps of brewing and how to get your SCOBY settled in for the magic to happen.
Part 4: Initial Steps for Brewing Kombucha
Step 1: Preparing Your SCOBY
- If you have a dehydrated SCOBY, rehydrate it by placing it in sweet tea. This process can take a few weeks. Ensure the tea is at room temperature.
- For a fresh SCOBY, check its health. It should feel slimy and smooth.
Step 2: Making the Tea Base
- Brew your tea using either black or green tea. Avoid flavoured teas, as they can harm the SCOBY.
- Dissolve regular granulated sugar in the tea while it's still hot. Allow the tea to cool to room temperature before proceeding.
Step 3: Combining Ingredients
- In your brewing vessel, combine the cooled sweet tea with your SCOBY.
- Add some starter kombucha to the mix. This is usually a portion of kombucha from a previous batch or store-bought raw kombucha.
Step 4: Fermentation Time and Temperature
- Place your brewing vessel in a spot with a stable temperature, ideally around 70 degrees Fahrenheit. Avoid direct sunlight and drastic temperature changes.
- The first fermentation typically takes between 7 and 14 days. You'll know it's ready when it tastes tangy but not overly vinegary.
Step 5: Checking the Brew
- Taste your kombucha every few days to check its progress. Use a clean straw to avoid contaminating the brew.
These steps are crucial for a successful brew. A well-cared-for SCOBY and properly prepared tea base set the foundation for delicious homemade kombucha. In the next part, we'll dive into the nuances of the first fermentation process and how to achieve the perfect kombucha flavour.
Part 5: The First Fermentation Process
Step 1: Setting Up Your Brew
- Once your SCOBY and tea mixture are ready in the brewing vessel, it’s time to begin the first fermentation. This is where the magic starts, turning sweet tea into tangy kombucha.
- Cover the jar with a breathable cloth or coffee filter and secure it with a rubber band. This cover keeps out contaminants while allowing air to flow, which is essential for fermentation.
Step 2: Finding the Perfect Spot
- Place your brewing vessel in a location where it won't be disturbed. This spot should have a stable temperature, away from direct sunlight. Remember, extreme temperature changes can affect the fermentation process.
Step 3: The Waiting Game
- Fermentation time can vary, usually between 7 and 14 days. This depends on the temperature and your taste preferences.
- Warmer environments typically speed up fermentation, so keep an eye on your brew, especially if your kitchen tends to be warm.
Step 4: Taste Testing
- Start tasting your kombucha a few days into the fermentation. Dip a clean spoon or use a straw to siphon a small amount from under the SCOBY.
- Look for a balance between sweetness and tartness. The longer it ferments, the more vinegar-like it will taste.
Step 5: Monitoring the SCOBY
- Your SCOBY will likely float at the top of your jar. It's normal for it to change in appearance, getting thicker over time. Brown stringy bits or small bubbles around the SCOBY are also expected and are a good sign of fermentation.
Step 6: Deciding When It's Ready
- Once your kombucha has reached the desired taste, it’s ready for the next step. Let it ferment for a few more days if it's too sweet. If it’s starting to taste too strong or vinegary, it’s time to move on to the second fermentation.
This first fermentation phase is where you develop the base flavour of your kombucha. It requires patience and a bit of observation, but getting this right is vital to great-tasting homemade kombucha. In the next part, we'll explore the second fermentation, where you can get creative with flavours and carbonation.
Part 6: The Second Fermentation: Flavoring and Carbonation
Step 1: Preparing for the Second Fermentation
- Once your kombucha has reached the right balance of sweetness and tartness in the first fermentation, it's time for the second fermentation. This step is about adding flavours and getting that fizzy carbonation that makes kombucha so refreshing.
- Remove the SCOBY from your kombucha. You can store a small amount of the brewed kombucha in a separate jar for your next batch.
Step 2: Adding Flavors
- Now's the time to get creative! You can add fruits, herbs, or even spices to flavour your kombucha. Everyday favourites are ginger, berry, lemon, or even combinations like apple-cinnamon.
- Chop or puree your flavourings and add them directly to the kombucha.
Step 3: Bottling for Carbonation
- Transfer your flavoured kombucha into clean, sealable bottles. Glass bottles with airtight seals, like swing-top bottles, work best.
- Leave some space at the top of each bottle to allow room for carbonation.
Step 4: The Carbonation Process
- Seal the bottles and store them at room temperature for 2–4 days. This allows the carbonation to build up. The sugar in the flavourings will ferment further, producing CO2 and fizz.
- Be cautious and check the pressure in the bottles occasionally to avoid over-carbonation, which can cause bottles to burst.
Step 5: Refrigeration and Enjoyment
- After a few days, check if your kombucha has the right amount of fizz. Once it's carbonated to your liking, put the bottles in the fridge. This stops the fermentation and carbonation processes.
- Your homemade flavoured kombucha is now ready to enjoy!
With the second fermentation, you transform your kombucha into a bubbly, flavourful beverage. It's fun to experiment with different tastes and find your favourite combinations. Remember, the possibilities are endless, so don't be afraid to try new flavours!
Part 7: Cleaning and Storing Your Kombucha Brewing Equipment
Step 1: Proper Cleaning Post-Brewing
- Cleaning your equipment is essential once you've finished brewing and bottling your kombucha. This helps prevent any unwanted bacteria or yeast from affecting your next batch.
- Rinse your brewing vessel and any other tools used with hot water. Avoid using strongly scented soaps, as they can leave residues that might affect the taste of your next batch.
Step 2: Using the Right Cleaning Agents
- For a deeper clean, use a mild, non-antibacterial detergent. Rinse thoroughly to ensure no soap residue remains.
- Occasionally, it's a good idea to sanitise your equipment. You can do this by using a vinegar solution (one part vinegar to four parts water) or a no-rinse sanitiser designed explicitly for brewing equipment.
Step 3: Drying Your Equipment
- After washing and sanitising, let all equipment air dry completely. This is crucial to prevent mould or bacteria growth.
- Ensure your SCOBY hotel (the jar where you store your SCOBY) is clean and well-maintained. Replace the kombucha in it with fresh tea every few weeks to keep the SCOBY healthy.
Step 4: Storing Your Equipment
- Store your clean and dry brewing vessel and tools in a dry, dust-free environment. Covering them with a clean cloth can prepare them for your next brewing session.
- Your SCOBY hotel should be stored at room temperature, away from direct sunlight and strong odours.
Step 5: Preparing for the Next Batch
- When you're ready to brew again, ensure all equipment is clean. Give everything a quick rinse before starting a new batch.
Proper cleaning and storage of your kombucha brewing equipment are essential for successful brewing. It ensures your kombucha is safe to drink and tastes great every time. In the next part, we'll explore some common problems and solutions in kombucha brewing, helping you troubleshoot any issues you might encounter.
Part 8: Troubleshooting Common Kombucha Brewing Issues
Issue 1: SCOBY Not Forming
- Cause: Often due to temperatures being too low, using flavoured or herbal teas, or insufficient starter tea.
- Solution: Ensure the brew is kept in a warm spot (around 70°F). Use plain black or green tea and include enough starter tea (about 10% of your total brew).
Issue 2: Mold on the SCOBY
- Cause: Mold can occur if the brew is contaminated or if the SCOBY is old or weak.
- Solution: If you spot mould (which typically looks fuzzy and can be green, black, or white), you must discard the SCOBY and the kombucha. Start fresh with a new SCOBY and ensure your brewing vessel is thoroughly cleaned.
Issue 3: Weak or Slow Fermentation
- Cause: This could be due to cold brewing conditions, weak SCOBY, or insufficient sugar.
- Solution: Check the temperature of your brewing area. Consider using a heating pad if necessary. Make sure you’re using the right amount of sugar and that your SCOBY is healthy.
Issue 4: Overly Sour Kombucha
- Cause: Over-fermentation. This happens when kombucha is left to ferment for too long.
- Solution: To avoid overly sour kombucha, taste your brew regularly and move it to the second fermentation or refrigerate it once it reaches your desired tartness.
Issue 5: Lack of Carbonation
- Cause: Inadequate sealing during the second fermentation, insufficient sugar for the yeast to consume, or too short a second fermentation period.
- Solution: Ensure your bottles are sealed tightly during the second fermentation. Add some sugar or fruit to the second fermentation for the yeast to feed on, and extend the second fermentation period if needed.
Issue 6: Kombucha is Too Fizzy
- Cause: Over-carbonation, often due to long second fermentation or high sugar content.
- Solution: Release some pressure from the bottles daily during the second fermentation and reduce the fermentation time or sugar content if necessary.
Understanding and troubleshooting common issues are essential to successful kombucha brewing. With these solutions, you can confidently address problems and perfect your kombucha-making skills. Stay tuned for more kombucha insights in our upcoming sections!
Part 9: Enhancing Your Kombucha Brewing Skills
Improving Flavor and Variety
- Experiment with Different Teas: While black and green teas are standard, you can experiment with white or oolong teas for different flavours. Avoid teas with oils, like Earl Grey, which can harm the SCOBY.
- Creative Flavor Infusions: Post-fermentation, get creative with infusions. Try fresh fruits, herbs, or spices. Ginger, berries, citrus, and mint are popular choices.
- Temperature Tweaks: Slight temperature adjustments can change the flavour profile. Warmer temperatures typically speed up fermentation, leading to a tangier taste. Cooler temperatures slow down the process, resulting in a milder flavour.
Advancing Fermentation Techniques
- Continuous Brew Method: Consider setting up a continuous brew system for frequent brewers. This involves a larger vessel with a spigot, allowing you to draw off kombucha as it ferments while adding fresh tea regularly.
- SCOBY Health Check: Regularly inspect your SCOBY for signs of health. A healthy SCOBY is key to a successful brew. It should be thick, smooth, and free of mould.
Mastering Carbonation
- Carbonation Control: For more fizz, ensure airtight sealing during the second fermentation and add extra sugar or fruit for the yeast to feed on. To reduce carbonation, shorten the second fermentation period.
- Pressure Management: If you’re getting too much carbonation, release pressure from the bottles daily during the second fermentation. Be careful to avoid over-carbonation, which can cause bottles to explode.
Storage and Longevity
- Proper Storage: Store your finished kombucha in the refrigerator to halt fermentation and preserve its taste.
- Long-Term SCOBY Care: If taking a break from brewing, store your SCOBY in a SCOBY hotel—a jar of brewed kombucha—and change the liquid every 4-6 weeks.
Refining your brewing techniques and experimenting with flavours can elevate your kombucha from good to great. These advanced tips and tricks will help you become a true kombucha artisan capable of crafting a wide range of delicious, healthful brews.